Replacing a chain link fence is a significant project that can enhance the security, aesthetics, and value of any property. Whether you are a homeowner or a business operator, understanding the intricacies of this process can ensure a successful and long-lasting fence installation. Our guide covers essential aspects, providing both novice DIY enthusiasts and seasoned professionals with the guidance needed to navigate this endeavor with confidence.

Chain link fences are popular for their durability, cost-effectiveness, and minimal maintenance. However, over time, exposure to the elements can lead to rust, bent posts, or sagging mesh, necessitating a replacement. The first step in replacing a chain link fence is a thorough evaluation of the existing structure. Identify the sections that require replacement and consider whether a full overhaul is necessary or if partial repairs can suffice.
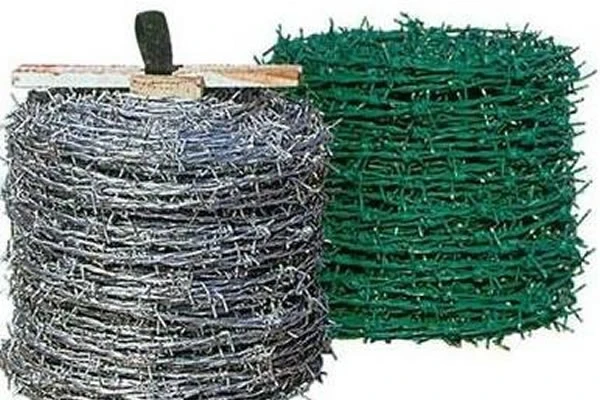
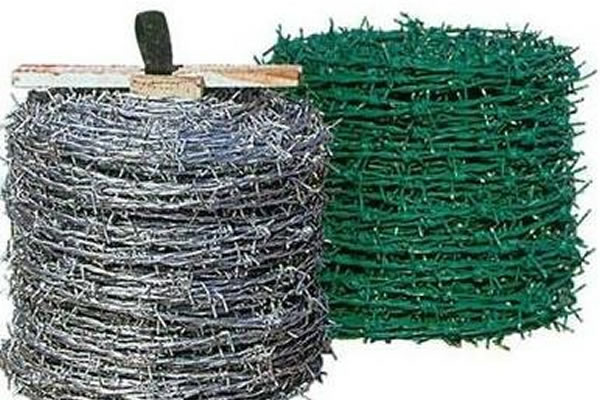
Selecting high-quality materials is crucial. Opt for galvanized steel or vinyl-coated wire to withstand harsh weather conditions and prevent rust. These materials not only extend the lifespan of your fence but also maintain its appearance more effectively over time. Additionally, consider innovative features such as privacy slats, which can be woven into the fence for enhanced privacy and security.

Preparation is paramount when replacing a chain link fence. Begin by surveying the area to ensure there are no underground utilities that could be disrupted during the installation. Contact your local utility companies to have them mark lines if necessary. Clear the designated area of any vegetation or debris that might obstruct the installation process.
Accurate measurement and planning are essential. Measure the perimeter of the area to determine the amount of fencing material required. It's advisable to purchase slightly more material than necessary to accommodate any mistakes or mishaps during installation. Plan the positioning of posts, typically 6 to 10 feet apart, ensuring they are evenly spaced and aligned.
chain link fence replacement
The installation process begins with setting the posts. Dig holes for the posts using a post hole digger, ensuring that each hole is approximately one-third the height of the post. Fill the bottom of each hole with gravel for drainage, then place the post and fill the remaining space with concrete for stability. Allow the concrete to cure for at least 24 hours before attaching the chain link fabric.
Attaching the fence fabric is the next crucial step.
Unroll the chain link mesh along the length of the fence line. Starting at one of the end posts, attach the mesh using galvanized tension bands and tension bars. These components are vital, as they keep the mesh taut and secure. Repeat this process along the entire length of the fence, ensuring the mesh is tight and level.
Once the mesh is attached, complete the installation by affixing caps to the top of the posts. These serve both a decorative and protective function, preventing water from entering the posts and causing rusting. Additionally, inspect the entire installation to ensure there are no loose fittings, sagging sections, or sharp edges that could pose a hazard.
For those inexperienced with fence installations, hiring a professional may be beneficial. A professional installer brings expertise, efficiency, and often warranty-backed workmanship, ensuring the fence not only meets aesthetic expectations but also fulfills safety and functionality requirements.
In summary, replacing a chain link fence is a project that combines careful planning, the right materials, and methodical installation techniques. By approaching this task with diligence and precision, you can achieve a robust, visually appealing boundary that stands the test of time. Whether for privacy, security, or simply to enhance property value, a new and sturdy chain link fence is a worthwhile investment.
 TEL:
+86-13102802206
 Email:
fencenetting@china.com
 Language
 TEL:
+86-13102802206
 Email:
fencenetting@china.com
 Language


